


Everyone would love to look a bit younger for a bit longer and as long as you know how to use a Gua Sha, then it’s possible without resorting to invasive procedures or plastic surgery! If you don’t know how to use one, keep reading.
We’ve found a way to promote collagen production, increase lift in your facial muscles, improve lymphatic drainage, and toxin release and create a fresh, youthful glow in your skin.
The ancient practice of Gua Sha pre-dates acupuncture as a method of healing and repair and is now being used as a non-invasive facial technique with amazing results.
Everyone needs a bit of Gua Sha in their life.
Gua translates to scraping and Sha is the redness from increased blood flow and circulation that you will see in your skin when you start this ancient Chinese practice.
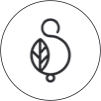
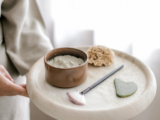
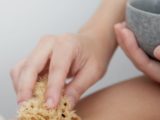
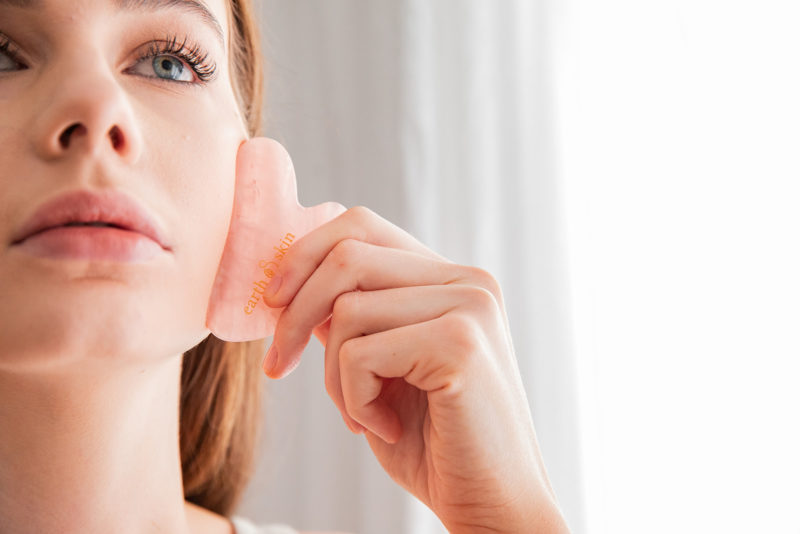
Using a specifically designed tool made from Bian Stone (read more about this amazing stone and why we chose it here) simply apply light to medium pressure on the skin and ‘scrape’ causing redness which is the result of increase in blood flow to your skin.
Gua Sha benefits
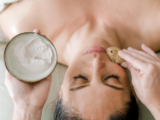
Often called Eastern Botox or Eastern Facelift, Gua Sha for the face and neck has the following incredible benefits and effects. Regularly using a Gua Sha:
- Firms up loose, sagging facial muscles
- Smooths the skin and reduces the appearance of fine lines
- Improves dark circles and bags under the eyes (the kind you get from advancing age)
- Lightens age spots and other skin discolourations
- Your complexion gets rosier and more radiant
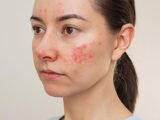
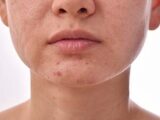
- Helps clear up acne, rosacea, and other skin problems
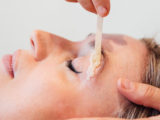
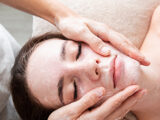
How to use a Gua Sha
- Remember to use only LIGHT pressure. The face is more sensitive than other parts of the body and the increased blood flow will happen even with very light pressure.
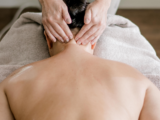
- We are moving stagnant lymph from our face and we will drain this out via the right and left lymphatic ducts. These are the areas in between each of our collarbones.
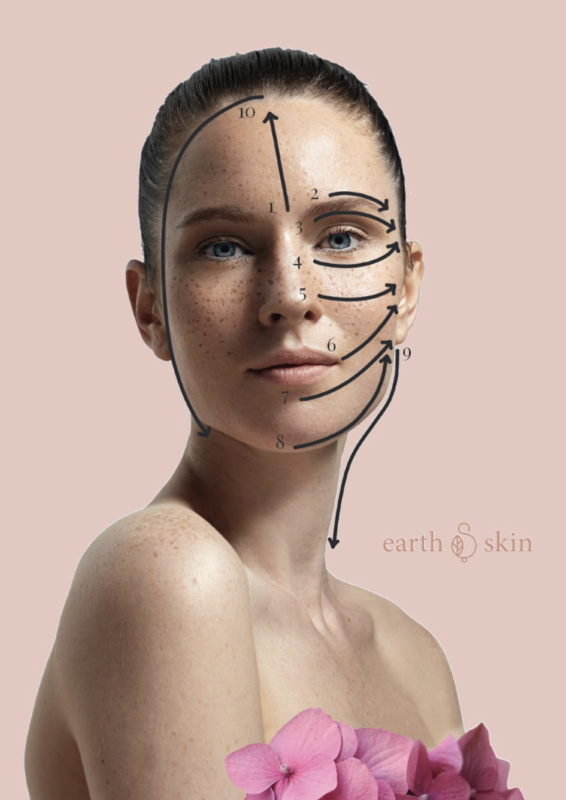
- All our light scraping motions will be upwards. Remember, we are countering sagging so we can NEVER make any downward movements. The only exception is the end part when we do the dumping in the lymphatic ducts highlighted above.
- Do 3-5 strokes for all of the areas except for the forehead. You can do twice as many there.
Now here are the general steps you can do as a beginner:
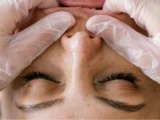
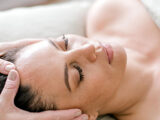
- Third Eye: Stroke from the middle of your eyebrows and up to your hairline. This area activates healing.
- Lower forehead: Sweep from the center of the forehead above your eyebrows going out to your temples.
- Under eyebrow: Use the curved part of your gua sha tool to scrape the area underneath your eyebrow and above your eyes. Stay on the bone of the brow.
- Under the eyes: Slowly and lightly stroke the area where your eye bags typically show. Start from the side of your nose and go up to your temple. Imagine moving the stagnant lymph from the middle of your face up to the temple and all the way to the hairline.
- Cheek: Do the same sweeping motion for the cheek area. Go from the side of your nose, across your cheek, and up again to the middle of your ear.
- Mouth area: Do the same for the mouth area again sweeping the lymph upward to your ear.
- Chin: Sweep from the middle of your face, under your lower lip and to the earlobe.
- Under chin: Scrape from the soft area under your chin to the bottom of your ear.
- Neck: Finally, it’s time to scrape from your jaw and earlobe down to the middle of your collarbone.
- The big sweep: Collect all the lymph you’ve moved to the side of the face and dump it to your lymphatic drainage. Sweep from the center of your forehead right under your hairline, down to your temple, down to your ear until you reach your neck and terminus area. Do several times for a clean sweep.
How often should you use your Gua Sha tool?
Use it morning and evening or even more during times of stress.
Remember to only use light to medium pressure.
Where do you get one of these tools from?
At Earth & Skin we have them available in day spa on the Gold Coast. Come visit us at 2 Regency Place, Mudgeeraba from Monday to Saturday.